Рассмотрим гипотетический проект по изготовлению распределительного щита в Бангкоке. Команда по закупкам заказывает выключатель 1600 ещё до утверждения схемы подключения. В процессе изготовления сборщик панели обнаруживает, что предлагаемые кабельные наконечники и изгибы требуют больше места, чем предусмотрено компоновкой корпуса. Номинальный ток выключателя был лишь одной из составляющих спецификации. Схема расположения клемм и окружающее пространство должны были быть согласованы до выпуска металлоконструкции.
Резюме: Автоматический выключатель 1600A может быть рассмотрен в схемах с кабелями или шинами только в том случае, если это допускается конкретной конструкцией выключателя, клеммной арматуры и сборки. CQM6-1600 указан как рамка 3-pole. Ни обозначение 1600 A, ни фотография серии не подтверждают одобренные наконечники, размер шины, момент затяжки или количество кабелей на одну клемму.
Какие чертежи клемм CQM6 необходимы перед выбором соединения 1600 A?
Запрос на покупку для 1600 автоматический выключатель должен указывать как типоразмер, так и требуемый номинальный ток. В технической информации по CQM6 перечислены несколько вариантов тока для типоразмера CQM6-1600. Таким образом, сам по себе обозначение типоразмера не полностью определяет поставляемое защитное устройство, а тем более подключенные к нему проводники.
Получите типовой чертёж и монтажный эскиз, деталировку клеммной колодки, утверждённые соединительные аксессуары и инструкции по монтажу, соответствующие данной модели. Убедитесь в актуальности их редакций и в том, на какие порядковые номера заказа они распространяются. Фронтальный вид может отражать общую форму изделия, но не позволяет определить скрытую схему подключения, конструкцию крепления или величину заднего зазора.
Публичный перечень CQM6 содержит размеры рамы и общую информацию по заказу. Эти данные полезны для предварительного планирования. Их не следует использовать для выводов о допустимой схеме подключения кабельных наконечников или моменте затяжки, если отсутствуют конкретные инструкции. Запишите выявленные особенности соединений в технический запрос и уточните их до начала изготовления.
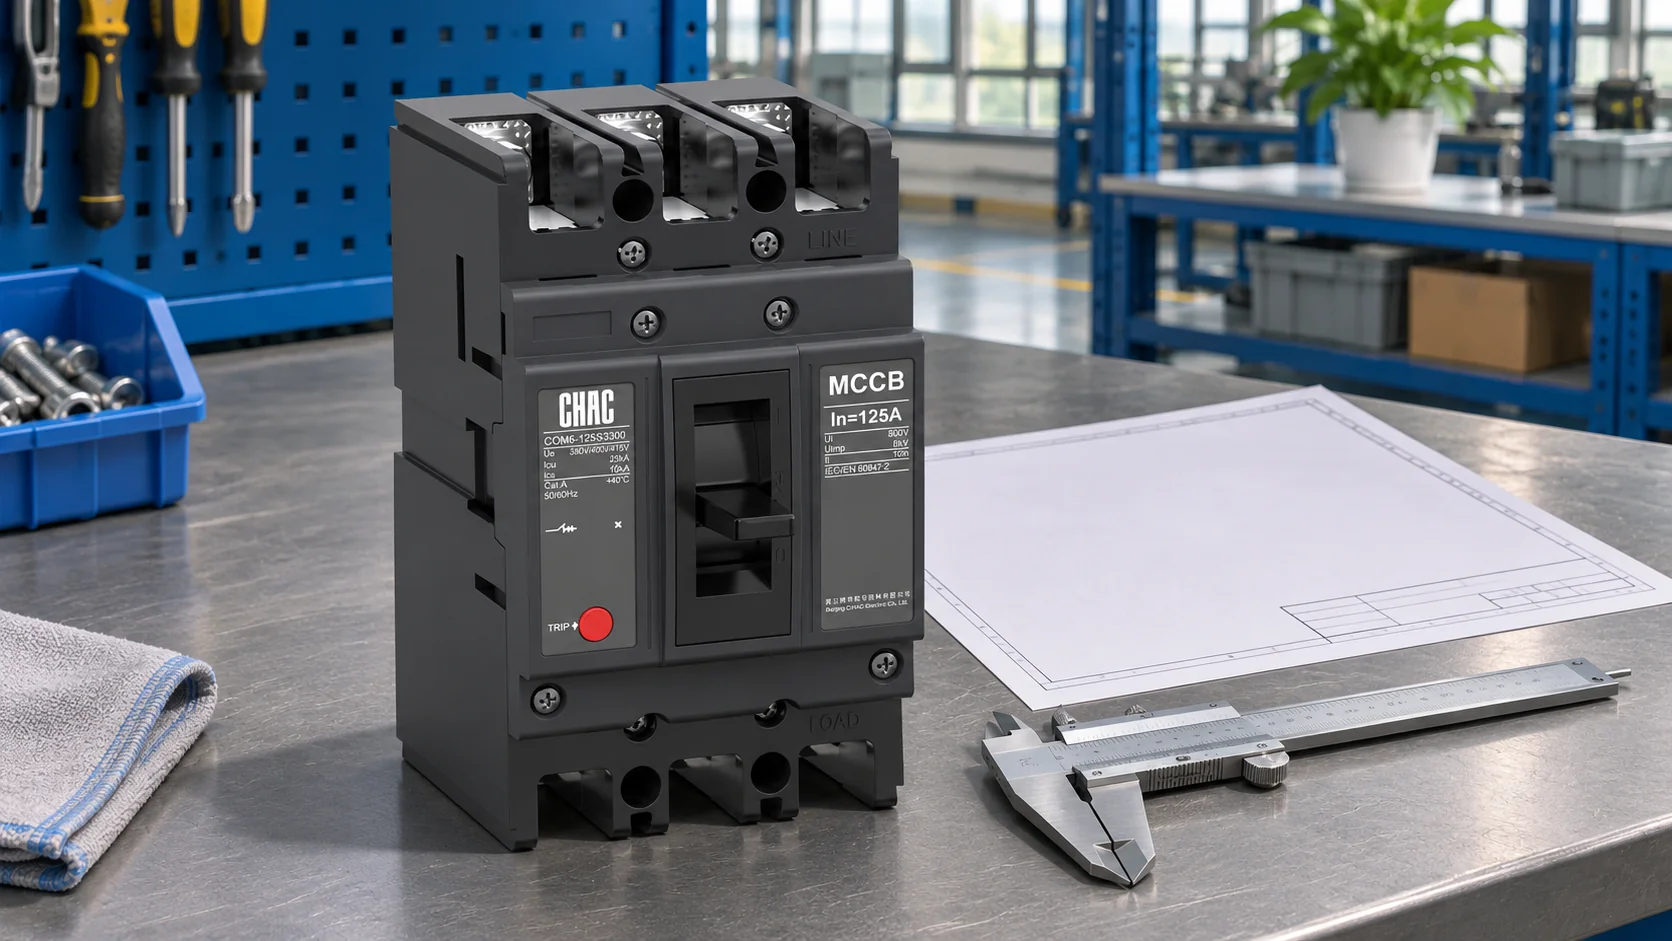
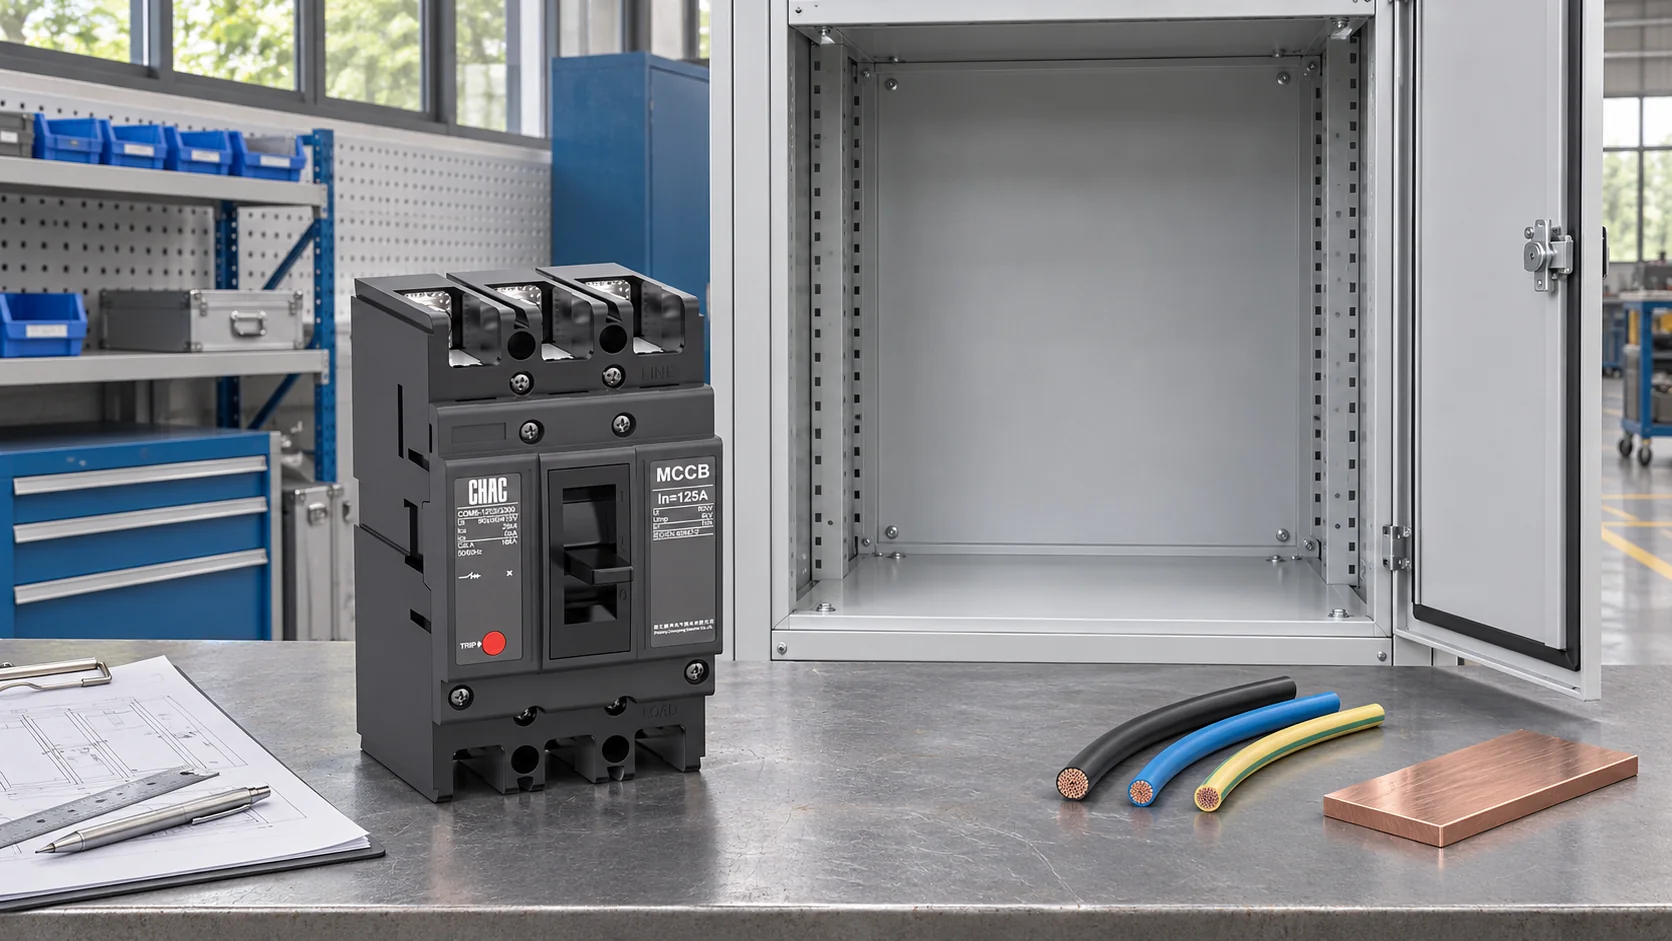
Иллюстрации продукта в этой статье используют пример внешнего вида серии CQM6. Они не являются чертежами с размерами и не демонстрируют одобренную установку кабеля или шинопровода CQM6-1600. Для производства действуют утверждённые документы выбранной модели.
Сравните соединения с кабельными наконечниками и шинопроводами для проектирования всего распределительного щита.
Клеммы автоматического выключателя Должно соответствовать клемме, материалу проводника, конструкции проводника и его сечению. Того факта, что отверстие надевается на болт, недостаточно. Размеры лапки, её ориентация, изоляция, крепёжные элементы и допустимое количество подключаемых проводников на одной клемме — всё это должно соответствовать утверждённой схеме подключения.
A соединение шинопровода также требует не только оценки плотности тока. Материал проводника, его габариты, конструкция соединений, опоры, повышение температуры и характеристики при коротком замыкании относятся к комплексной оценке всей сборки. Выключатель 1600 не устанавливает один универсальный размер поперечного сечения медной шины. Он также не подтверждает, что предлагаемый адаптер подходит для клеммы выключателя.
| Точка обзора | Кабельное предложение | Предложение на основе шинопровода |
|---|---|---|
| Терминальный интерфейс | Одобренный наконечник или разъём и допустимое количество проводников | Одобренный контактный разъём, адаптер и крепёжная конструкция |
| Космос | Ориентация разъёма, радиус изгиба кабеля и его прокладка | Геометрия балки, опоры и доступ к узлам |
| Тепловая оценка | Условия прокладки, группировки и окончания проводников | Bar and joint temperature rise in the actual enclosure |
| Mechanical assessment | Cable support without unsuitable terminal loading | Support and fault-force assessment of the arrangement |
| Servicing | Access to inspect and remake approved terminations | Access to inspect joints and the relevant supports |
There is no general rule that cables are always easier or busbars always cheaper. A cable proposal can require substantial bending space and termination work. A busbar proposal can require custom fabrication and careful control of joint geometry. Compare the complete design, manufacturing work and maintenance access for the actual panel.
Check cable bends, phase clearances and access around the 1600 A connection
The outline of the breaker is only the starting envelope. Add the selected connection hardware, conductor approach, cable bends or bar route, phase separation, barriers and tool access. Confirm clearances from the applicable instructions and assembly design. Do not obtain a critical distance by measuring a catalogue photograph.
IEC 61439-1:2020 covers construction, technical characteristics and verification requirements for low-voltage assemblies, used with the relevant assembly part. It explicitly addresses temperature-rise verification and group rated current. This supports a practical distinction: a component’s 1600 A marking does not prove that every enclosure and conductor arrangement can carry 1600 A under its service conditions.
If parallel cables are proposed, document the conductor characteristics and arrangement required by the applicable design and installation rules. Multiple cables may affect space, grouping and current sharing. They are not an automatic substitute for a terminal-approved single-conductor or busbar arrangement. The terminal’s permitted number of conductors must be confirmed independently.
| Document or decision | Information to capture | When it is needed |
|---|---|---|
| One-line diagram | Supply, circuit duty, protection and fault level | Before device selection |
| Terminal detail | Connection option and approved interface hardware | Before ordering lugs or adapters |
| Enclosure layout | Device, connection route, clearances and servicing access | Before metalwork release |
| Assembly verification | Applicable thermal and short-circuit assessment | Before accepting the finished design |
| Installation instructions | Conductor preparation, fastening procedure and torque | Before assembly and inspection |
A useful drawing-review habit is to show the complete connection envelope on the same drawing revision as the enclosure. This lets the breaker supplier, panel builder and installer discuss the same arrangement. Otherwise, each party can approve a different piece while the assembled result still fails to fit.
IEC TR 61439-0:2022 provides guidance on the functions and characteristics a specifier should define for an assembly. It supports agreeing application and interface requirements before manufacture. Treat it as specification guidance, alongside the applicable assembly requirements, rather than as approval of a particular cable lug or busbar joint.
Confirm which CQM6 connection hardware is included in the order
CHAC CQM6 standard MCCB information identifies a range up to 1600 A and lists CQM6-1600 as 3P. Use that page to identify the family, then request confirmation for the exact proposed connection. Do not extend an accessory option from a smaller frame to CQM6-1600 without supporting data.
Ask the supplier to identify what is supplied with the breaker and what must be ordered separately. Depending on the approved arrangement, the review may include terminal hardware, adapters, covers, phase barriers and operating accessories. List the required items rather than assuming every part visible in a series brochure is included.
The MCCB procurement guide provides the broader order-review context. For this connection decision, send the conductor proposal, enclosure drawing and required quantity with the enquiry. Ask who approves the final interface and who is responsible for the assembly design.
IEC 60947-2:2024 addresses the circuit-breaker product; IEC 61439 addresses the assembly. Referencing either standard does not establish that a particular CQM6 order or connection has every approval required in the destination market. Verify the exact model records and the applicable installation rules. The MCCB category can help locate alternatives when the proposed frame or interface cannot meet the layout.
Finally, compare the installed cost. Include approved lugs or bar fabrication, enclosure space, labour, verification and future access. A cheaper connection kit that requires a cabinet redesign may be the more expensive option. No cost estimate should assume an unapproved connection will be accepted later.
Common questions about CQM6 1600 A cable and busbar connections
Can a 1600A MCCB use cable lugs as well as busbar connections?
It depends on the exact model and approved connection options. Some arrangements may be available through specific terminal hardware or adapters, but the current rating alone does not establish compatibility. Obtain confirmation for the selected CQM6 frame and proposed conductors.
Which terminal drawings are needed before choosing a CQM6 connection arrangement?
Request the exact model’s terminal detail, outline and mounting drawing, accessory drawing and installation instructions. Confirm the revision and ordering code covered. Include the surrounding enclosure layout in the review.
How should conductor material and the number of cables per terminal be specified?
State the conductor material, construction, cross-section and intended number per terminal. Include the lug or connector proposal and cable arrangement. The manufacturer must confirm the terminal’s permitted configuration; physical fit is insufficient.
Does a 1600A breaker rating alone determine the required busbar size?
No. Material, arrangement, enclosure temperature, joint design and short-circuit duties affect the assembly assessment. Use the approved design and relevant verification, rather than a universal bar size taken from the breaker current.
Which lug and terminal hardware should be included in the supply scope?
Identify the approved lugs or adapters, fasteners and any required covers or phase barriers. Ask which items are included and which are separate. Do not prescribe a fastening stack without the manufacturer’s connection instructions.
How should bending space and phase separation be checked around a high-current connection?
Review the full conductor route and connection envelope on the enclosure drawing. Apply the cable manufacturer’s bend requirements, the breaker’s clearances and the assembly design. Include access for installation and inspection.
Where should the approved tightening torque and termination procedure be obtained?
Use the installation instructions for the exact breaker, terminal kit and conductor arrangement. If they are missing, request them before installation. A bolt size, photograph or torque value from another model is not a valid substitute.
Ссылки
- IEC 60947-2:2024: circuit-breaker product scope.
- IEC 61439-1:2020: low-voltage assembly construction and verification.
- IEC TR 61439-0:2022: guidance for defining assembly functions and interfaces.
The CQM6 product information linked above supplies the frame and pole data. Specific lug compatibility, busbar dimensions and tightening torque require the selected connection documents.
Agree the connection before the enclosure is built. Send CHAC the CQM6 frame, conductor proposal and panel layout to clarify the model-specific supply scope.